While do-it-yourself projects can be fun and fulfilling, there is always a potential for personal injury or property damage. We strongly suggest that any project beyond your abilities be left to licensed professionals such as electricians, plumbers, and carpenters. Any action you take upon the information on this website is strictly at your own risk, and we assume no responsibility or liability for the contents of this article.
How to Refinish Your Hardwood Floors
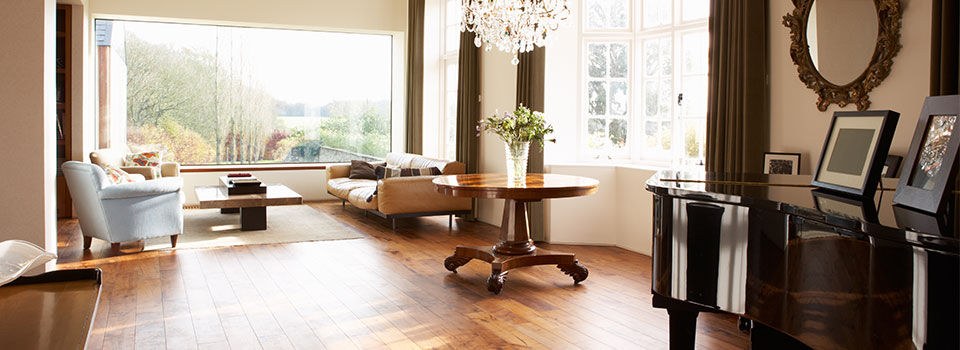
A timeless charm comes along with old hardwood floors. Old hardwood floors can add a lot of character to your home, but the contentment that comes from worn wooden floors only goes so far. If your well-loved wooden floor is scratched, dented, or just looking a little run down, perhaps it’s time to consider refinishing your hardwood floors.
Less expensive than replacing the floors and an easy enough DIY project, refinishing your hardwood floors can be done in a few simple steps and with a few basic supplies. Although completing the job yourself can be time-consuming and labor-intensive, it is more affordable than hiring a contractor to do it for you and is certainly more rewarding.
What You Will Need
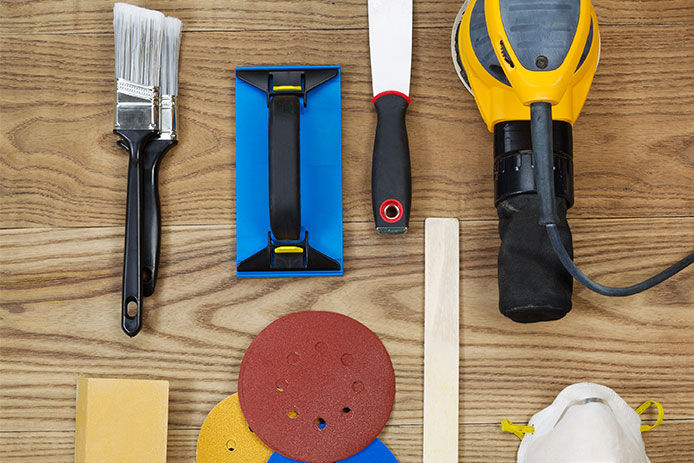
To properly prep for refinishing your floors, you will want to have all the right tools. In addition to your basic toolbox supplies, you will need a few more tools to get the job done. Prepare to acquire a sander, buffer, paint brushes and rollers, vacuum, your finish or stain of choice, and any protective gear you prefer.
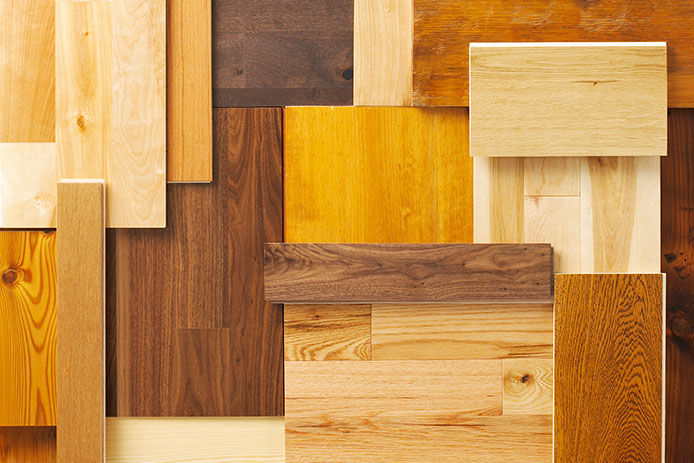
It is important to decide what you want your refinished floors to look like so you can choose your stain or finish and process accordingly. Your desired outcome determines what process you will use. For example, if you decide to simply oil your floor, you will just rub the oil into the wood. If you prefer stained floors, you will paint the stain onto the wood and typically apply a finish afterward.
Out with the Old
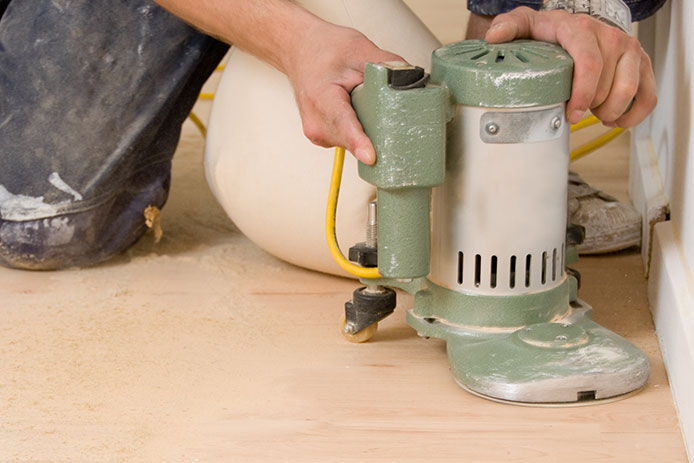
The first step is to remove the old finish from your hardwood floor. We recommend renting a walk-behind sander for most of the floor and using a handheld sander for the corners and edges. Your sanding process depends on the condition of your floors and the existing finish. If they only have a sealant finish, you will have to remove this finish so the new stain can absorb into the wood.
If the existing wood floors are only oiled, then this will require just a light sanding. We recommend wearing a dust mask and eye protection while sanding for safety. If you are renting a walk-behind sander, be sure to ask them about the best grade of sandpaper for successfully refinishing your floors.
Once you have completed all the sanding, you will need to do a good cleaning. While most sanders have a bag that picks up the majority of wood dust, dust will still accumulate on the floor, molding, and walls. Use a shop vacuum to clean the floors and a damp rag to wipe down walls and molding. You want to be meticulous with this step so that dust doesn’t fall onto the floor later while the new finish is drying.
In with the New
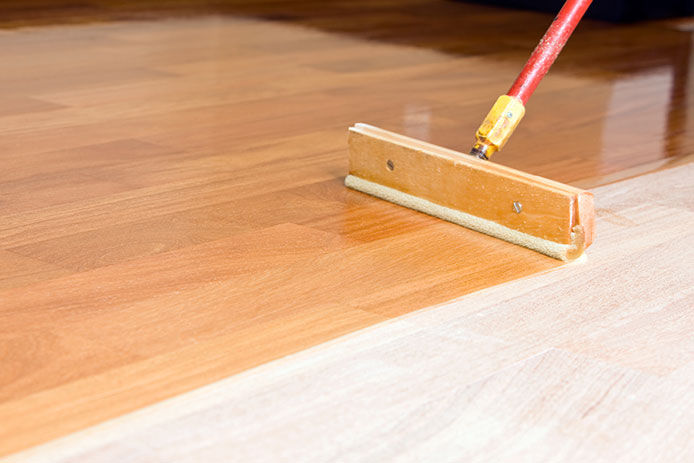
Several types of finishes and stains offer different results. Be sure to choose your stain and finish beforehand, as it’s best to seal the floor on the same day you finish the sanding to prevent the open wood from absorbing too much moisture.
- Varnish is an old-school product but still a widely used option. This finish is very hard, which makes the floor more durable. Varnish comes in a variety of lusters from matte to glossy and continues to darken with age.
- Polyurethane can be either oil-based or water-based and is the newer technology that replaced varnish as the most standard product used for finishing floors. Polyurethanes come in a wide variety of lusters and darkens the wood, creating a wide array of possible tints and tones for your hardwood floor. Polyurethane is perfect for high usage and high moisture areas and will give long-lasting protection and durability.
- Sealers deeply penetrate the wood and bring out the wood’s natural grain. Penetrating sealers will give a natural-looking finish that only slightly darkens with time. This is often the choice of those who prefer the natural look over the more glossy or plastic look of polyurethane. This option is less durable but the easiest to repair. Waxing a penetrating sealer will also make it more protective and can darken the color of the wood over time.
- Wood oils such as teak, tung, and mineral oils are popular options for protecting the wood and bringing out its natural colors while keeping it natural. Rub wood oils into the floor with rags to deeply penetrate the open wood.
Last but Not Least
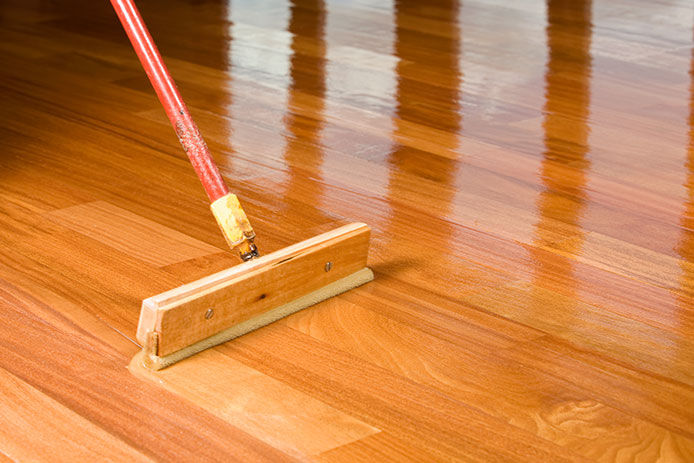
On the same day you finish sanding the floor, apply the sealer or stain to the wood with a paintbrush or paint roller. Apply the sealer or stain evenly and carefully so you don’t use so much that it can’t soak into the wood or so little that it doesn’t provide the proper protection. Once the sealer has dried, it’s time to apply the finish. Buff, vacuum, and wipe the floor again to properly prep it for its final touches.
Following the directions on the container, apply the first two coats of finish wax, varnish, or polyurethane. Be sure the coats dry adequately between applications. Allow at least 24 hours for the final coat to dry before moving the furniture back into the room.
Successfully refinishing your old hardwood floors can bring a new life and luster to previously dulled floors. Be sure to take care and be meticulous with the process from start to finish to ensure a successful outcome and a refinished hardwood floor that shines.